Understanding the Snipping Tool Application for Mac Devices
Download Snipping Tool App for PC
Install NowGrasping the vast beauty of the Snipping Tool on Mac involves delving into its functionality and comprehending its unique attributes on various scenarios. This tool allows users to capture customized snapshots of their screens, edit them, and share them seamlessly. It is particularly appreciated by users who often need to create graphical instructions, provide feedback or share a specific part of their screen for various purposes.
Compatibility With Different Mac Devices
Whether you're operating an iMac or a MacBook, the functionality of Snipping Tool on MacBook remains optimal across the devices. The application is exceptionally accommodating, providing efficient service for both Intel and ARM M1 chip models, thus leaving no Mac user behind.
Exclusive Features
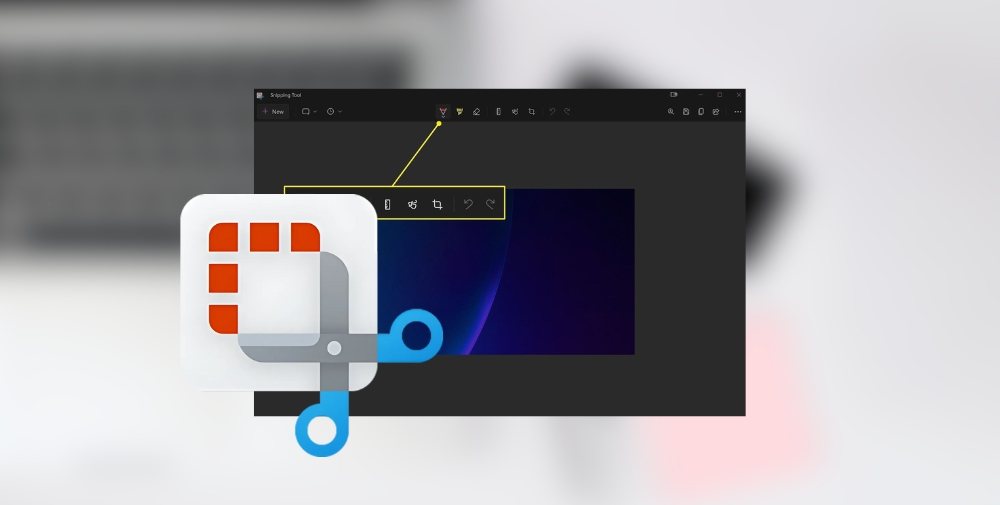
- Customizable Shapes: The application allows users to snip exactly what they want using rectangular, free-form, window, or full-screen modes.
- Delay Feature: This attribute allows users to set a delay time, which is helpful when capturing context menus or tooltips that disappear after a few seconds.
- Edit and Annotate: The captured screenshots can be instantly edited and annotated using various tools such as pen, highlighter, or eraser.
- Share: You can easily share your snips via different platforms directly from the application.
Installation and Launch Process
If you're looking for Snipping Tool for Mac for free to download, it's a straightforward procedure. After downloading the application, locate the downloaded file in your Mac and double-click on it. The Snipping Tool application will open in a separate window. Drag the Snipping Tool icon to the application folder displayed in the same window for installation. Once placed in the Applications folder, the Snipping Tool is installed and can be launched from the Launchpad.
Usage Guide
Once you get your free on Mac Snipping Tool, knowing how to effectively utilize this utility takes your experience a notch higher. Launch the Snipping Tool from the Launchpad and select the "New" button in the pop-up window for a new snip. For different snip shapes, use the drop-down menu next to "New". Once you've made the selection, click and drag over the portion of the screen you want to capture. After letting go of the mouse, the snip will appear in the Snipping Tool window ready for editing or sharing.
System Compatibility: MacOS
The Mac OS Snipping Tool works flawlessly with MacOS 10.9 and later versions. It has also been optimized for compatibility with the latest MacOS Big Sur, ensuring that users enjoy the full benefits of the Snipping Tool regardless of their MacOS version.
Additionally, acquiring a free Snipping Tool download for Mac doesn't compromise on the quality of service offered. The compatibility range is wide, making your screenshot process streamlined and much easier than before.
Free vs. Paid Versions
Notably, to get a Snipping Tool download for Mac, you don't necessarily need to purchase a subscription. The free version is bountiful with features and offers a worthwhile user experience. However, supplementary features come with the premium version, which may provide added convenience for power users. Nonetheless, the free version is nothing short of proficient, delivering outstanding functionality for most user needs.
Snipping Tool Application on MacBook
Lastly, maximizing the application of the MacBook Snipping Tool can make your digital life much more organized and efficient. Professional or personal, whichever walks of your life you find yourself in, this versatile application comes in handy. From sharing a technical issue with your IT department to creating a guide for technology novices, the Snipping Tool proves itself as an essential utility for comprehensive digital communication.